The real painting process begins when you take your reference photos. The high quality, the better.
But once you’ve got them, then what? How do you make your raw photos suitable for painting?
Here are a few suggestions:
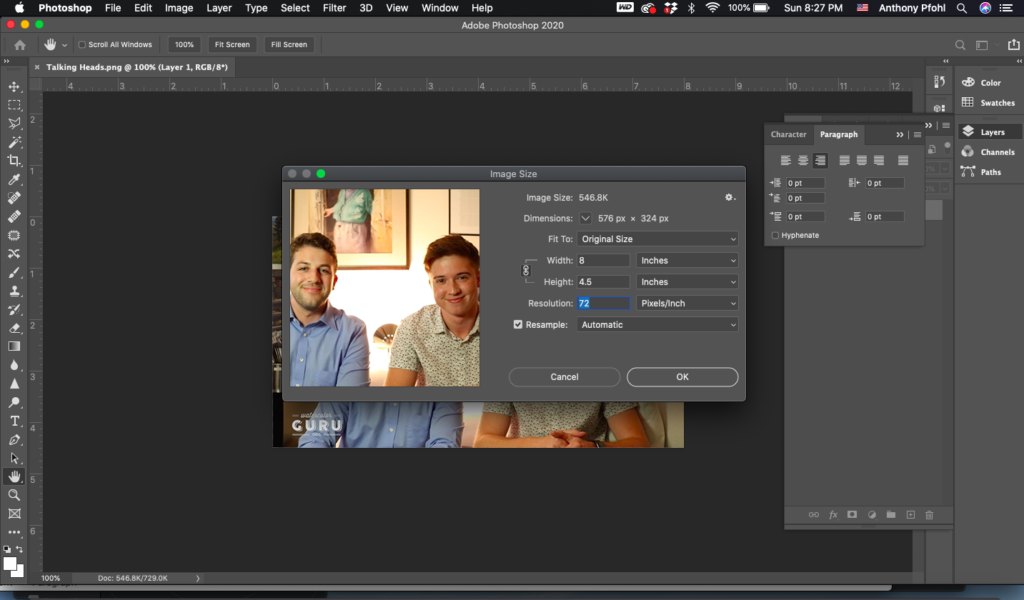
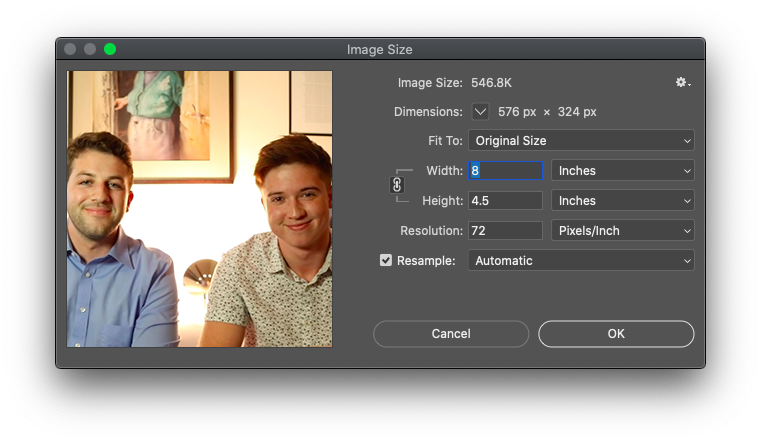
Make sure your photo is the right size. Once you’ve opened the image in photoshop, go to Image > Image Size. If you want to make the file size a tad more manageable, try clicking the “resample” box and reducing it to 72 dpi and no more than 12 inches on the largest dimension.
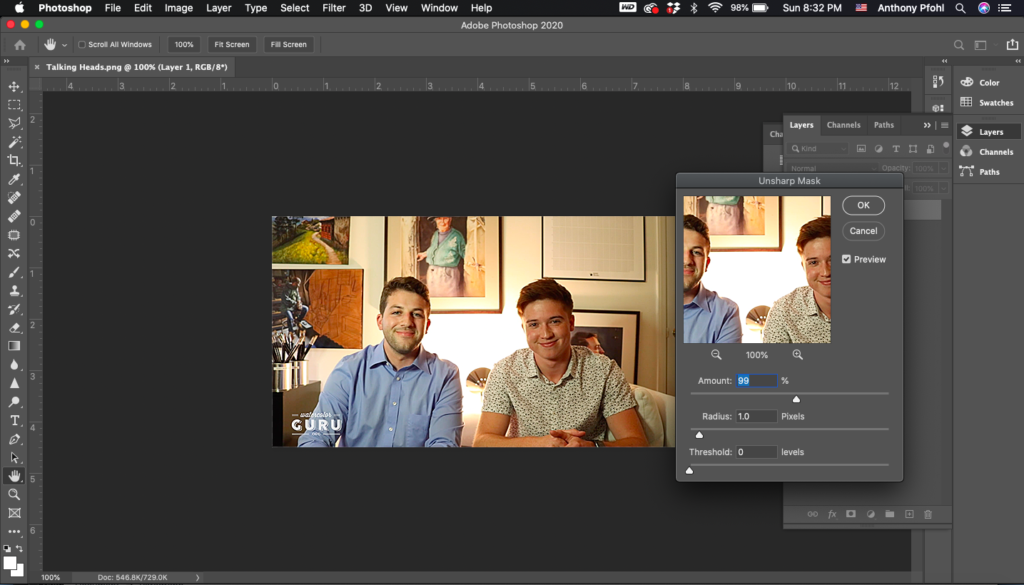
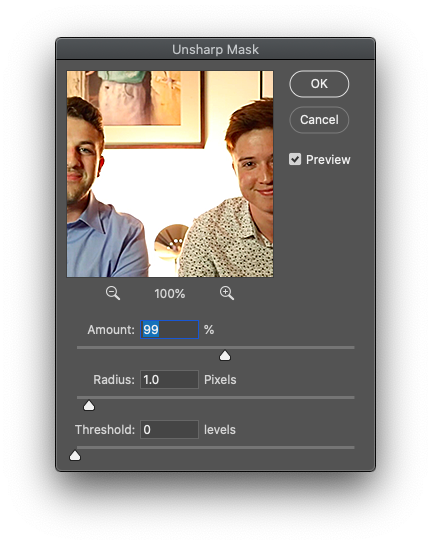
Sharpen it up. Go to Filter > Sharpen > Unsharp Mask. Seems counterintuitive, I know. Why do you go to something called “Unsharp” to sharpen up your image? And yet, that’s where you want to be. Truth is stranger than fiction. Adjust the dials to your liking. Be careful not to overdo it here.
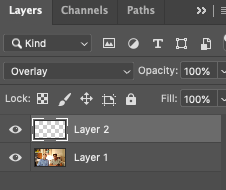
Dodge and Burn. Named for the darkroom methods of lightening and darkening photo film, we also don’t use the titular tools for this. I repeat: do not use the default photoshop dodge and burn tools! The problem with these is that they affect your original pixels and can’t be adjusted retroactively.
Instead, open a new layer, and set the transparency mode to “Overlay.” Then use a white or black paint brush set to 10% opacity to lighten or darken your photo. The benefit of this is that the dodging and burning stays on a separate layer from your original photo, and can thus be undone much more easily.
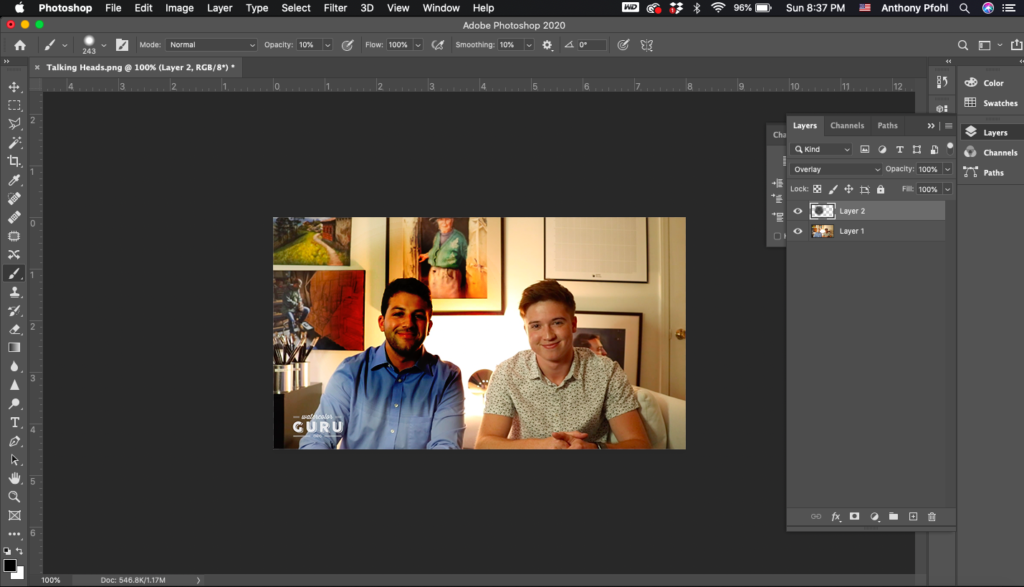
Hopefully you’ll be a little bit more judicious than I was in this example:
That’s it for this article! For a much more thorough discussion of photoshop techniques, check out our new Udemy course, Paint Realistic Watercolor Portraits. The course begins with a screencast showing how to edit photos in Photoshop. Let’s all get better together!